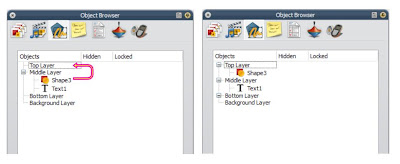
To see the layers of your page, use the Object Browser Window. (Click here for help finding the Object Browser Window.)
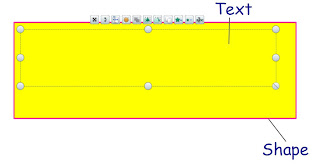
You will need 2 objects for this tutorial. I will use a rectangle and text. The Magic Ink will be used to 'see through' the rectangle to the text.
1. Objects (shapes, images and text) default to the Middle Layer. Since Magic Ink only works on objects in the Top Layer, you must first move the shape to the Top Layer by dragging and dropping it in the Object Browser Window. (Click on images for larger views.)

2. In the workspace, place the shape over the text.

3. Click on the Magic Ink Tool.
4. Using Magic Ink, color over the rectangle and the text will appear!

This is an interesting way for students to discover answers or helpful hints during a lesson.

No comments:
Post a Comment